Illustration pen pal: fossil
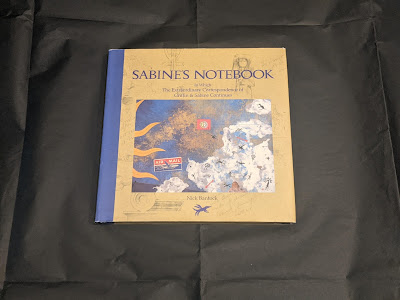
My illustration pen pal loaned me another Griffin and Sabine book, and I returned it wrapped in multiple layers of tissue paper so that opening each layer was like digging through the layers of the earth.
 |
| Outer wrapper (shovel, address, and postage) |
 |
| Organic layer (grass) |
 |
| Topsoil |
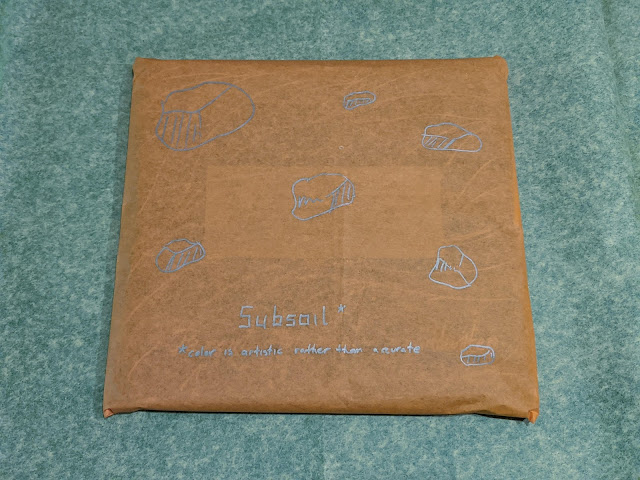 |
| Subsoil |

 |
| Reference -> sketch -> final |

 |
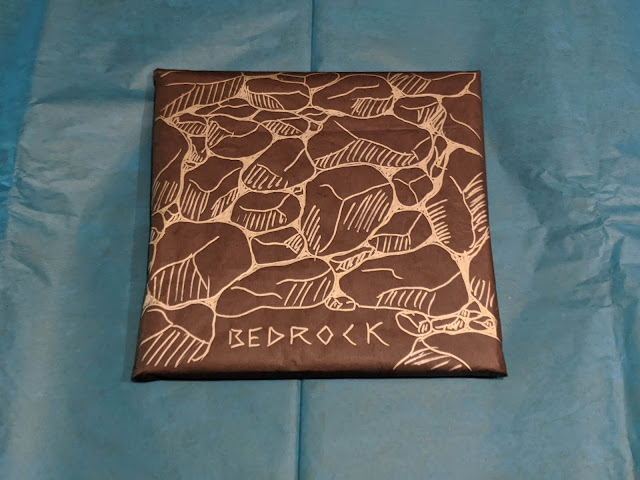
| The book was cleverly hidden under the fossil layer of tissue paper |


Comments
Post a Comment